Hall Monitor Part I: Paper Roses (August 18, 2012)
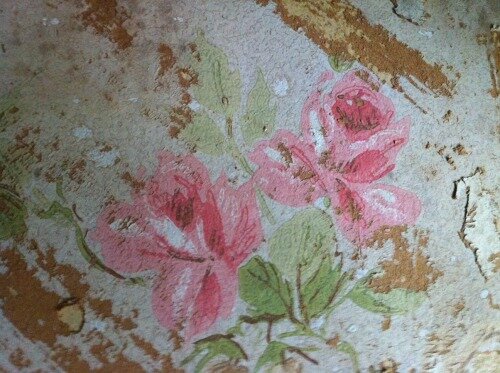
This pretty old paper in our central hallway made for the most attractive original wall surface in our home—down to that yellow ochre color, which is the oldest layer of paint. Sadly, it had to go, as it masked the most unstable span of plaster in the building.
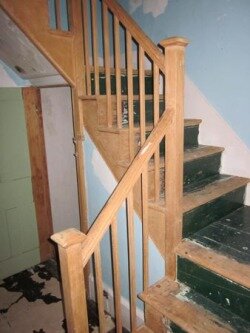
One of the main reasons we pursued this particular house, opposed to others in our resident curator program, was because it was structurally sound—with its dry basement, level floors, unshakeable staircase, and sturdy walls standing straight after two centuries.
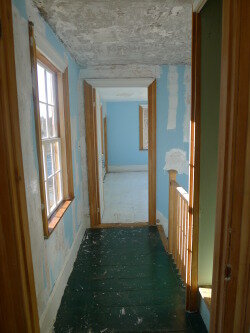
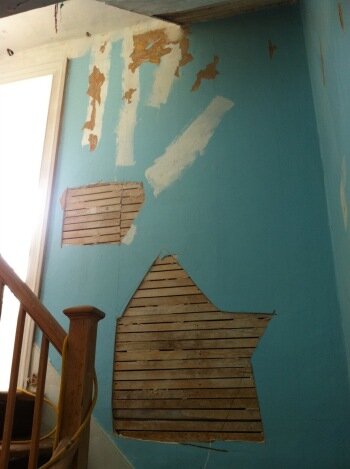
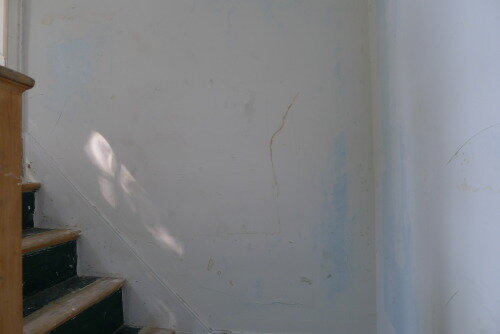
The big exception, however, were the walls in the stairwell. The old plaster had destabilized and was not only alligatoring, as it was in other rooms, but was crumbling and outright collapsing in more than a few spots.
Kevin guesses the hallway, which is in the oldest part of the house, was redone and papered in 1910, when the kitchen addition was built. But the plaster wasn’t done well. There was no base or finish coat—just one layer of sanded plaster with some animal hair in it.
He says plaster wants to be an inch thick, but these walls were a mere quarter of an inch; the plaster was so thin it barely attached itself to the lath, rather than locking firmly into place behind it. In some areas, it had been reapplied and reinforced with metal lath, but in general, it was a big, ugly, saggy mess.
Most of the original plaster in our house was unrefined, as the surfaces were made for paper rather than paint (Smooth Enough), typical of an early 19th-century farmhouse. Yet, despite the absence of a smooth topcoat, it was sturdy, with a thick basecoat containing animal hair and a slightly less thick browncoat containing coarse sand. Because the hallway is the only part of the house where we plan to hang paper, Kevin will use the two-layer plaster model, sans topcoat, and aim to stabilize rather than perfect.
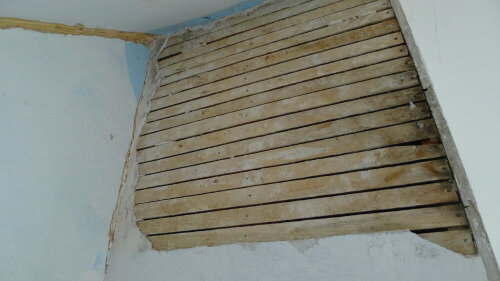
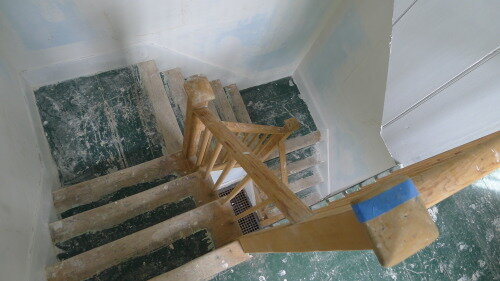
He started by sanding the walls and tearing out sections that were crumbling or collapsing, as shown in this section just below the second floor.
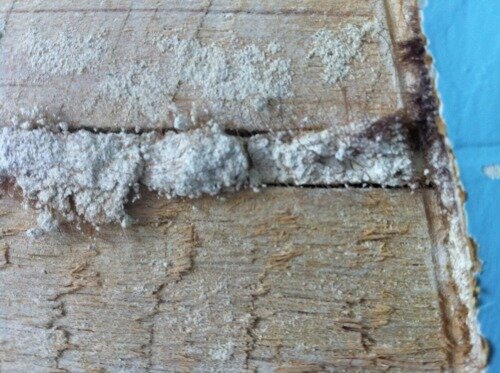
After stripping troubled areas down to the lath, he applied this light stucco base coat and striated the surface so it would securely grip the next layer.
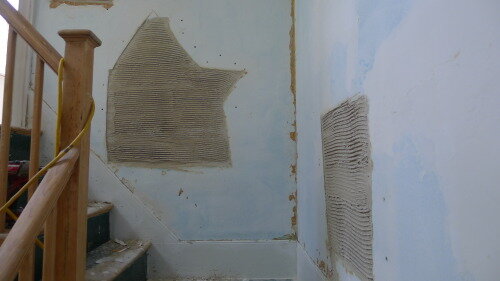
He topped the striated base layer with this gypsum browncoat, which contains coarse sand, adding mass and raising the new surface to the same plane as the original walls.
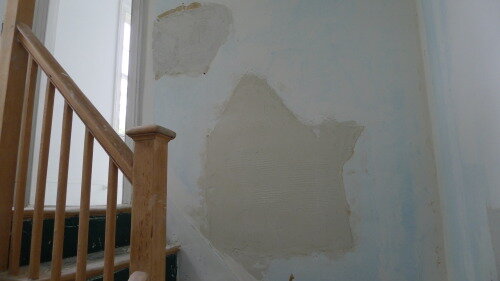
Finally he mudded the patches with gypsum joint compound so they’re smooth and the patch is detectable only in this faint stain on the right side of it.
Once the restoration is further along, we’ll paper the walls, as I mentioned, with some variation of this Farrow & Ball design called Ringwold. I chose it because the pattern will climb the stairwell like a vine from the first floor to the second.
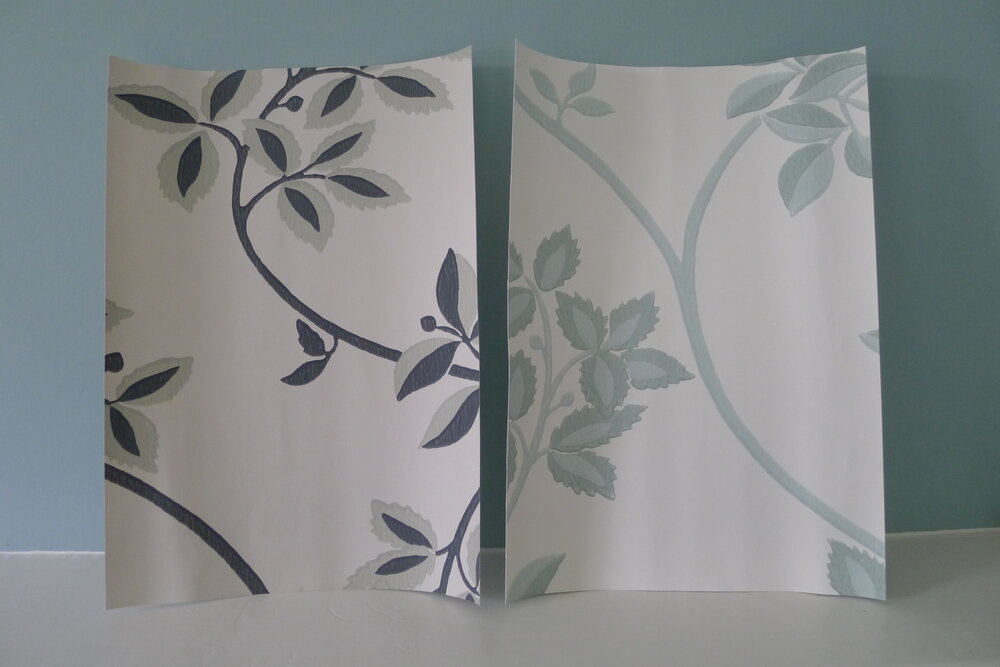
We’ll pick the colors after we’ve painted all four of the adjacent rooms various shades of F&B blue—from an indigo-based mid-range shade to blue-greens such as this Dix Blue in our parlor, shown above behind the wallpaper samples. We want to view all the colors in situ, at room scale, before we decide on a common denominator.